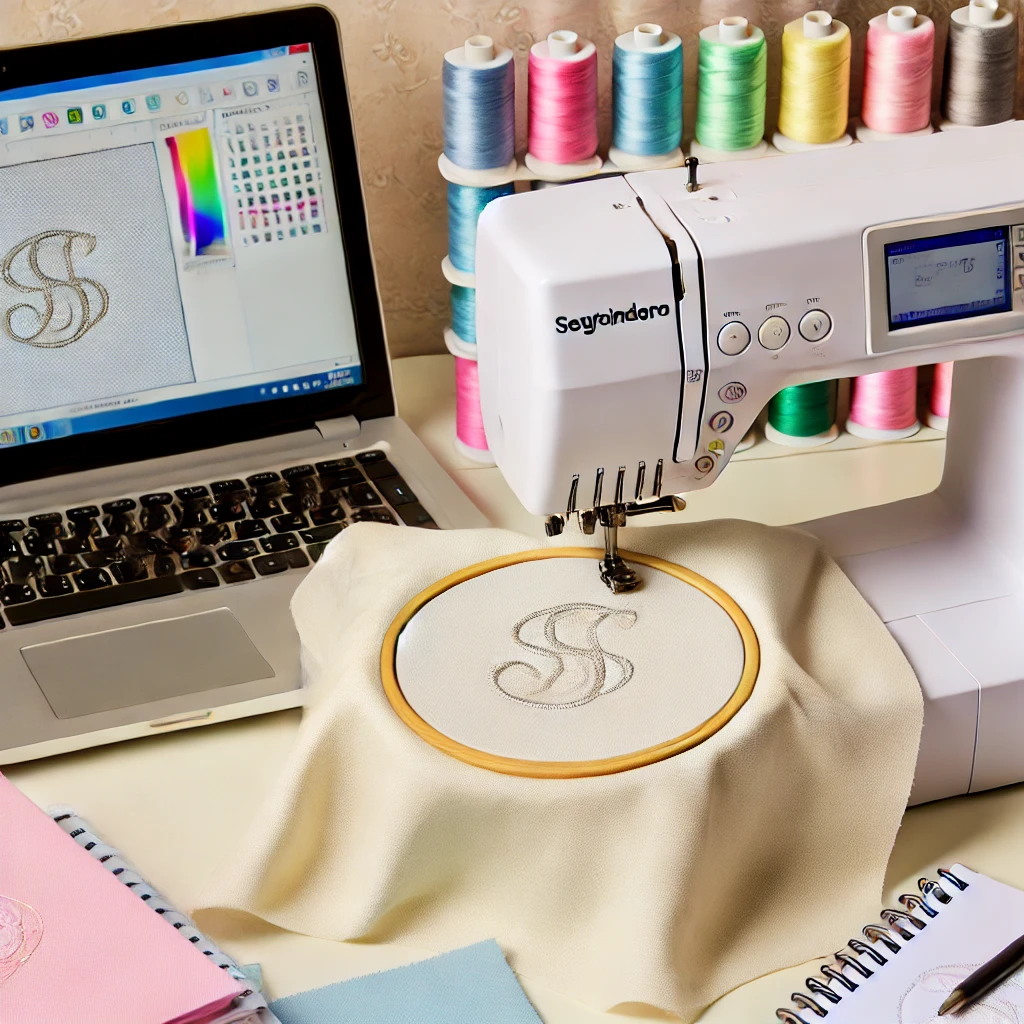
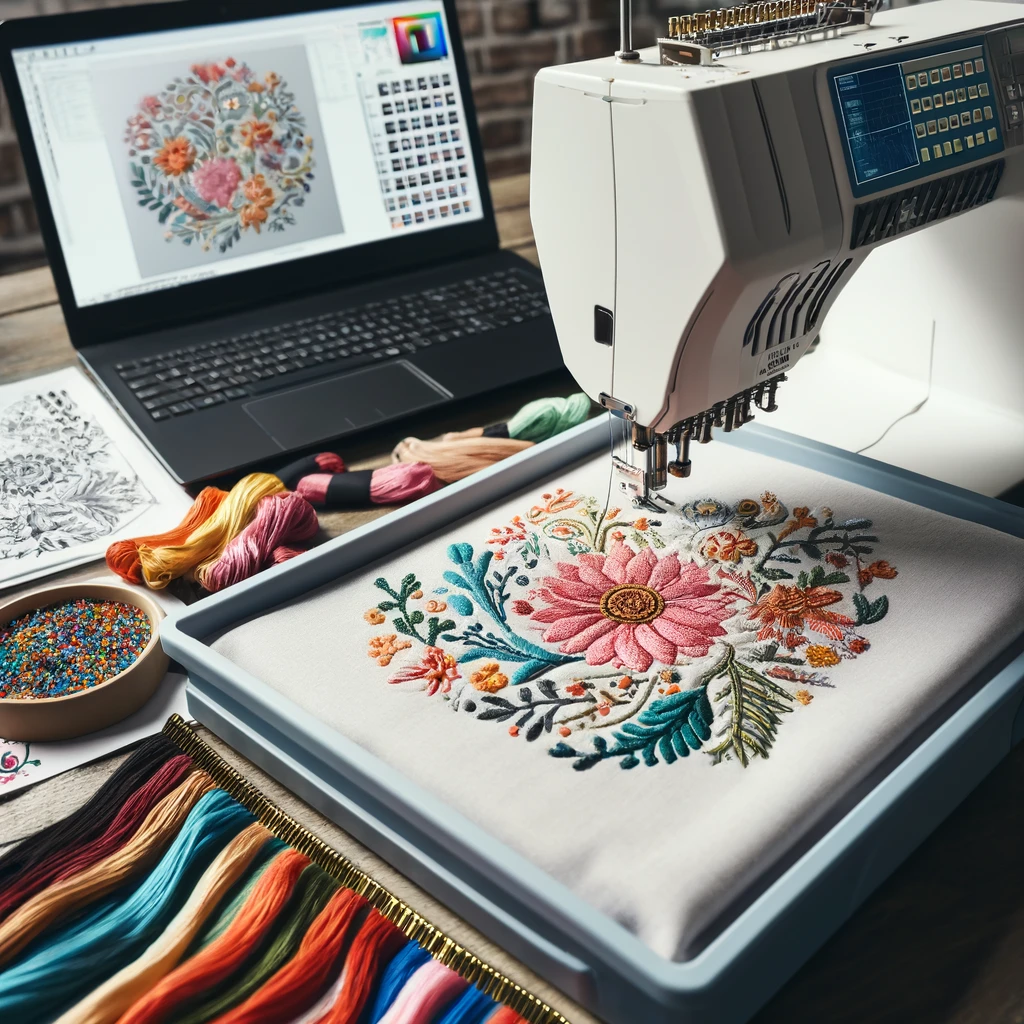
Embroidery machines have revolutionized the way we do needlework designs, allowing us to generate more complex and detailed patterns quickly. One of the most intimidating things to a beginner in machine embroidery is the idea of creating your own designs. This tutorial demonstrates how to make an embroidery machine from an initial idea to a digitized fill stitch file.

Introduction
Memory and professionalism is itself an art to embroider a design into the fabric of an embroidery machine, which is a combination of human imagination and computer technology. Traditional hand embroidery is a lot more fuss because an expert needs to work out the design and stitch it for you properly. On the other hand, machine embroidery is done with patterns that are digitized and then read by the machine on its own. The design is then digitized into a stitch file that the embroidery machine can read and follow to embroider your design onto fabric. Today, we are providing you with this article that will guide you through the steps to make it easier for those who may be new in the game of embroidery to understand designing their creations and putting them into action with an embroidery machine.
Step-by-step Process for Making an Embroidery Design
Think Up Your Design
At this point, you must design before going to the technical part. Whether it is a logo, a name, or even some quirky illustration, this design of yours precedes everything else.
Draw it out, even if you’re not a designer; sketch your idea. There is no need to be perfect—you just want to draw what’s in your mind.
Think of the Material: Don’t forget that the heaviness of your fabric would determine how dense your style needs to be. It would be nearly impossible to create the dress in a comparable style using anything but the most delicate of fabrics.
Digitize the Design
The next step is digitizing, which converts your design into a machine-readable format. This is a crucial step in machine embroidery because it involves turning your design into a stitch file.
Choose Embroidery Digitizing Software: Use digitizing software such as Wilcom, Hatch, or PE-Design by Brother. These paths are defined by freehand embroidery machine programs.
Change to Vector Style: Your design may require being in a vector image format (for example, SVG or AI) so the embroidery digitizing program can set it up for stitches. Use graphic software like Adobe Illustrator or Inkscape to digitize the hand-drawn design that you scanned from paper.
Select Stitch Types
Common stitch types include:
- Satin stitch: Used for text or borders.
- Fill stitch: To cover large portions of embroidery with color.
- Running stitch: Good for outlining.
Alter Stitch Density
Stitch density refers to how closely the stitches are packed and should be adjusted based on your pattern and material.
Put the Machine to Work
Now let’s stitch it out and see how our design looks on the embroidery machine.
Upload Design: Save your digitized file in your machine’s format (PES, DST, JEF) and upload it to the machine.
Test: Print the design on throwaway fabric to see how it flows and catch any glaring mistakes.
Revise the Design: If stitches are too loose or too tight, go back to the digitizing software to revise.
Fine-Tune and Finalize
Upon completing testing and adjustments, you can embroider your final product. High-level tweaks for the last minute:
- Stabilizer: Use stabilizing fabric to prevent your design from stretching while being embroidered or to reduce chatter.
- Thread Selection: Use 100% polyester thread for bold, non-fading colors and smoother stitching.
- Set the Machine Tension and Speed based on your design and fabric.
Conclusion
Designing your own machine embroidery may seem daunting at first, but with a little help and practice, gorgeous designs can be yours. After you get the hang of it—coming up with ideas, digitizing them, test stitching, and tweaking—embroidery design will become your playground. Tinker and iterate along the way, and over time, you’ll get used to customizing designs for projects.

